
Lawn
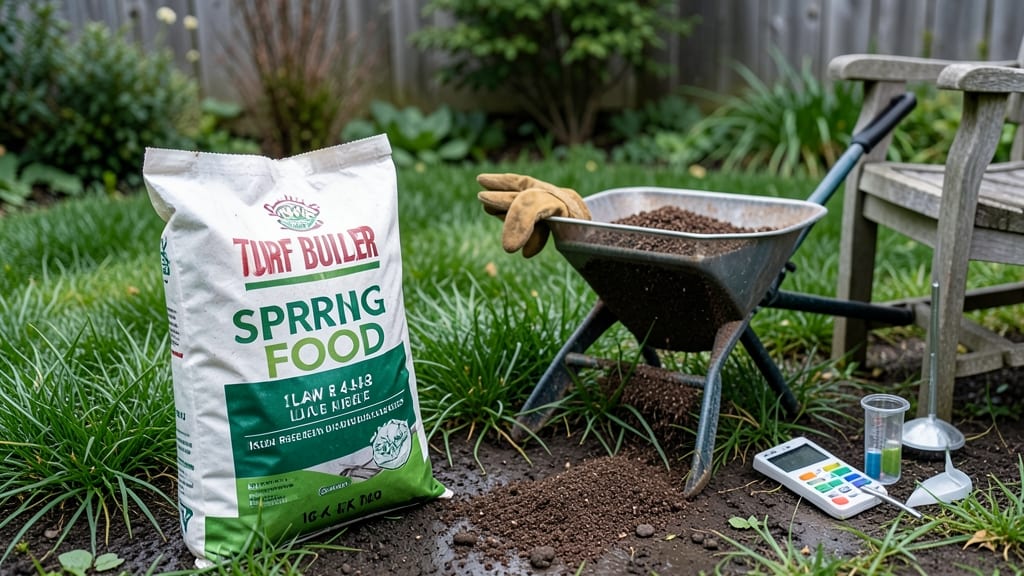
Spring fertilizing your lawn when the soil hits 50–55°F is the game-changer between a weak recovery and a thick, green carpet 🌱.
Timing your spring lawn fertilization perfectly can mean the difference between a lush, vibrant yard and one that struggles to recover from winter—soil temperature is the secret key.
Too early, and you risk burning tender roots still waking from dormancy. Too late, and you miss the 6-week window when grass roots soak up nutrients fastest. In Zone 6a, that’s usually late March to early April, but a quick soil check beats guessing.
Below, I’ll walk you through how to test soil temp, pick the right fertilizer, and avoid the 3 biggest mistakes that waste money and stunt growth. No more second-guessing—just a lawn that looks like it’s been professionally pampered.

Optimal soil temperature for spring lawn fertilization: the science behind it
Spring is the perfect time to give your lawn the nutrient boost it needs after winter dormancy, but timing is everything. The soil temperature plays a critical role in determining when to fertilize—applying too early can burn tender roots, while waiting too long may stunt early growth.
Research shows that grass roots become active when soil reaches 50-55°F, making this the ideal window for fertilization.
Why does soil temperature matter so much? When soil is too cold, microorganisms break down fertilizer slowly, wasting nutrients. Meanwhile, grass roots are still dormant below 50°F, leaving them vulnerable to fertilizer burn.
Warmer soil speeds up microbial activity, allowing roots to absorb nutrients efficiently for rapid, healthy growth.
Most lawn grasses—like cool-season types (Kentucky bluegrass, fescue)—begin actively growing when soil temperatures consistently stay above 50°F for several days. Warm-season grasses (Bermuda, Zoysia) need even warmer soil, around 65°F, but spring fertilization typically focuses on cool-season varieties in northern climates.
Testing your soil temperature is simple but essential. Use a soil thermometer (available for under $10) to check the temperature at a 4-inch depth, which is where most grass roots reside.
Early mornings are best for testing, as afternoon sun can skew readings. Aim for 50-55°F for at least 3-5 days before fertilizing.
Regional differences play a huge role in timing. In the Northern U.S. (USDA Zones 3-6), soil may only hit 50°F in late April or early May, while Southern states (Zones 7-10) can reach this threshold as early as February or March.
Always adjust your schedule based on local climate data, not just calendar months.
Here’s a quick reference for regional soil temperature trends:
If you’re unsure about your local soil temperature trends, check your USDA Plant Hardiness Zone and consult a local cooperative extension service—they often provide free soil temperature data for your area.
For example, in Zone 5, waiting until mid-April ensures soil is consistently warm enough, while Zone 8 lawns may be ready by late February.
Pro tip: Pair soil temperature checks with visual cues. When your grass starts greening up and grows about 2-3 inches tall, it’s a sign roots are active and ready for fertilization.
This usually aligns with soil temperatures hitting that 50-55°F sweet spot. Avoid fertilizing if soil is still below 50°F, even if your lawn looks green—roots may not absorb nutrients effectively.
Once you’ve confirmed the right soil temperature, choose a slow-release fertilizer to provide steady nutrition without risking burn. Apply it on a dry, calm day in the early morning to minimize evaporation and maximize absorption. Water lightly afterward to help nutrients penetrate the soil.
Timing your spring fertilization correctly sets the stage for a thicker, greener lawn all season. By understanding the science behind soil temperature and regional variations, you’ll avoid common mistakes and give your grass the best possible start. Next up: learn how to apply fertilizer properly for maximum impact.
Step-by-Step guide: how to fertilize your lawn at the perfect time
Now that you’ve checked your soil temperature and confirmed it’s between 50-55°F, it’s time to fertilize! The right approach ensures your lawn thrives without burning or wasting nutrients. Start by prepping your lawn—mow it to a 3-inch height and clear debris to maximize fertilizer contact with the soil.
This step is crucial for even distribution and absorption.
Choosing the right fertilizer type depends on your lawn’s needs. Slow-release fertilizers are ideal for steady growth over 6-8 weeks, while quick-release options provide an immediate boost but require more frequent applications.
For most lawns, a balanced NPK ratio like 24-0-5 works best—this prioritizes nitrogen for green-up without overloading phosphorus or potassium.
When to Spring Fertilize Your Lawn: Step-by-Step
- 📅 Step 1: Test Soil pH – Aim for a 6.0-7.0 range. Adjust with lime (for acidic soil) or sulfur (for alkaline) 2-4 weeks before fertilizing.
- 🌱 Step 2: Aerate Compacted Soil – Rent a core aerator to create ½-inch holes every 3-4 inches. This helps fertilizer reach roots deeper.
- ⚡ Step 3: Apply Fertilizer – Use a broadcast spreader set to the recommended rate (check product label). Walk in overlapping patterns for even coverage.
- 💧 Step 4: Water Immediately – Apply ¼ inch of water to activate granules. Follow with 1 inch total water over 24 hours to prevent burn.
- ☀️ Step 5: Time Applications – Fertilize on a cool, overcast day or early morning to avoid heat stress on grass blades.
Pro Tip: Mark your calendar for a second application 6-8 weeks later to sustain growth through summer.
After fertilizing, your lawn will need consistent watering to help nutrients penetrate the soil. Avoid overwatering, which can leach fertilizer away, and stick to deep, infrequent watering sessions.
You’ll notice greener blades and stronger roots within 7-14 days, but patience is key—don’t fertilize again until you see signs of nutrient depletion, like pale or sparse growth.
One common mistake is skipping the soil test—this can lead to over- or under-fertilizing. If your lawn turns yellow or brown after application, flush the soil with 2 inches of water to dilute excess nutrients.
For cool-season grasses like Kentucky bluegrass, a third light application in early fall will prepare roots for winter dormancy.
Remember, the perfect timing for spring fertilization isn’t just about the calendar—it’s about soil conditions, grass type, and weather patterns. By following these steps, you’ll give your lawn the best possible start to outshine your neighbors’ yards all season long! 🌿