
Lawn
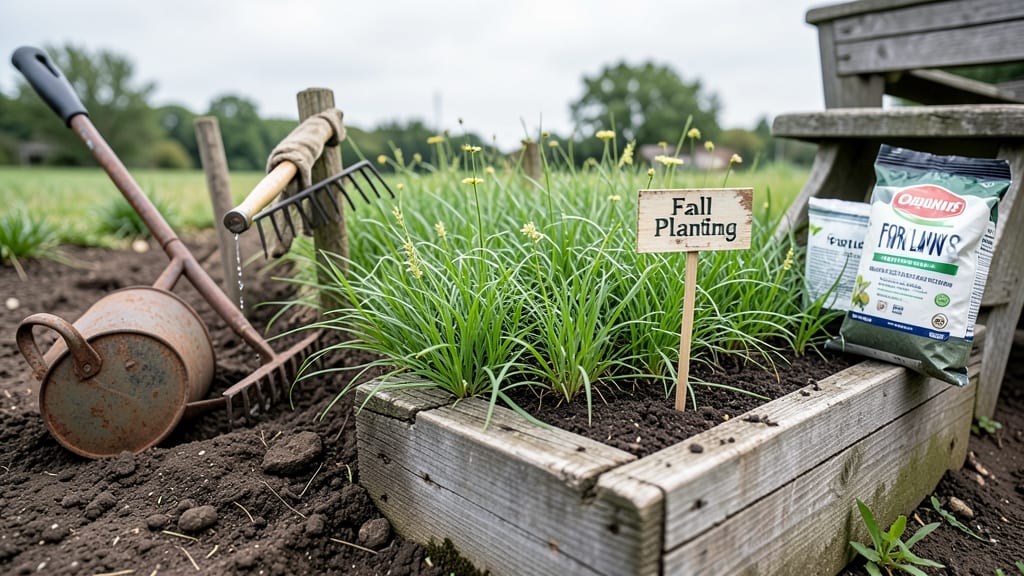
Planting a lawn in the fall gives your grass a 6-week head start before winter—cooler temps and fewer weeds mean stronger roots before frost. ✨ I’ve seen firsthand how fall-planted lawns outperform spring starts, with thicker growth by next summer.
The secret isn’t just timing; it’s letting the grass establish deep roots when the air cools but the soil stays warm enough to work with.
You’ll need the right grass type for your zone (cool-season grasses like fescue or rye thrive here), a rake, seed, and maybe a starter fertilizer. Skip the tilling unless your soil is compacted—gentle prep works just as well.
The key is planting 4-6 weeks before your first frost, when soil temps stay above 50°F but nights dip into the 40s.
By late fall, you’ll see lush, uniform growth that winterizes better than spring starts. Weeds stay dormant longer, and your lawn wakes up greener in spring. Just watch for early frosts—cover new seed if temps drop below 32°F, and keep watering until the ground freezes.
This method works for new lawns, patchy spots, or complete overhauls—even in small yards. The payoff? A lawn that’s thicker, greener, and more drought-resistant by next summer. Let’s get those seeds in the ground!
📚 In This Guide
- What you need
- Instructions
- Tips and common mistakes
- Wrapping up and next steps
What you need
- ● Seed: Choose cool-season grass seed (e.g., Kentucky Bluegrass, Tall Fescue, or Perennial Ryegrass) tailored to your climate zone. Quantity: ~10–12 lbs per 1,000 sq ft (check seed bag for exact coverage).
- ○ Soil Test Kit: Test your soil’s pH and nutrient levels (ideal pH: 6.0–7.0 for most grasses). Optional: Adjust with lime (to raise pH) or sulfur (to lower it) if needed.
- ● Lawn Rake: A bow rake (for leveling soil) or spring-tine rake (for seeding). Size: 24–36" width for efficiency.
- ● Spreaders: Broadcast spreader (for even seed distribution) OR
- ● Drop spreader (for precision in smaller areas).
- ● Topsoil or Compost: 1–2 inches of high-quality topsoil or compost to improve soil structure and fertility. Coverage: ~1 cubic yard per 100 sq ft.
- ● Watering Tools: Garden hose with adjustable nozzle (for gentle watering).
- ○ Sprinkler (optional but helpful for large areas).
- ● Fertilizer: A starter fertilizer (high in phosphorus, e.g., 5-10-10) to encourage root growth. Application rate: Follow label instructions (typically 1 lb per 100 sq ft).
- ● Soil Amendments: Gypsum (for compacted clay soil) or peat moss (for sandy soil).
- ● Erosion Control Blankets: Temporary mats to protect seeds from wind/water runoff (great for slopes!).
- ● Lawn Roller: Lightweight (50–100 lbs) to press seed into soil gently.
- ● Mulching Hay or Straw: Light layer (¼ inch) to retain moisture and shield seeds from birds.
- ● Weed Barrier Fabric: If your soil has aggressive weeds, lay down landscape fabric before seeding.
- ● Lawn Thermometer: Monitor soil temperature (ideal seeding range: 60–75°F).
Step-by-Step instructions for planting a fall lawn
Fall’s cooler temps and frequent rains create perfect conditions for a thick, resilient lawn—here’s how to do it right.
🪴 Step 1: Prepare the Soil for Optimal Seed Germination
Start by removing all existing vegetation, rocks, and debris from the area using a sod cutter or shovel. I like to rent a sod cutter for large areas—it’s faster and leaves the soil smoother. Once the ground is clear, loosen the top 6 inches of soil with a garden tiller or broadfork. This breaks up compacted layers so roots can penetrate deeply.
Test the soil pH using a kit from your garden center—ideal lawn grass thrives in a range of 6.0 to 7.0. If your soil is too acidic, spread lime according to package instructions; if it’s too alkaline, add sulfur. Work the amendments into the top 4 inches of soil and let it settle for 24 hours before planting. This ensures nutrients are evenly distributed without clumping.
💧 Step 2: Level the Ground and Spread Seed Evenly
Rake the soil surface until it’s smooth and free of clumps. Use a bowl-level rake to create a perfectly even plane—this prevents low spots from collecting water and high spots from drying out. For slopes, add straw mulch to slow erosion while seeds establish.
Spread the grass seed using a broadcast spreader set to the recommended rate for your seed type (usually 5-10 pounds per 1,000 square feet). Walk in a crisscross pattern to ensure even coverage. Lightly rake the seeds into the soil with a stiff-bristled rake, pressing them just deep enough to cover—about ¼ inch. This ensures good seed-to-soil contact for germination.
☀️ Step 3: Water Consistently to Encourage Strong Root Growth
Water the seeded area immediately after planting, keeping the soil evenly moist but not soggy. Use a gentle sprinkler or hose with a fine mist setting to avoid displacing seeds. For the first 2 weeks, water lightly twice daily—morning and late afternoon—to keep the top ½ inch of soil damp. Once seedlings reach 2 inches tall, gradually reduce to 1 inch of water per week, including rainfall.
Watch for signs of uneven moisture—yellowing patches mean too much water, while dry, crusty soil means you need to increase frequency. Fall’s natural rainfall often helps, but don’t rely on it entirely. A soaker hose buried under ½ inch of straw is my go-to for consistent hydration without runoff.
⏰ Step 4: Maintain Through Establishment and Into Winter
Once the grass reaches 3-4 inches tall, mow with a sharp blade set to 3 inches to encourage root growth. Avoid mowing if the grass is damp—dull blades tear stems and invite disease. Fertilize with a slow-release, high-nitrogen lawn fertilizer (like 24-0-6) 4-6 weeks after planting to support root development before winter.
Apply a thin layer of straw mulch (about ¼ inch) to protect seeds from late fall frosts and erosion. Remove it in early spring once growth resumes. By late fall, your lawn should have dense coverage—if not, overseed bare spots in early spring for a fuller look. The key is patience: a fall-planted lawn won’t be perfect overnight, but the roots will establish strong enough to handle winter’s challenges.
Tips & tricks for perfect fall lawn planting
Fall lawn planting is all about timing and preparation—here’s how to avoid common pitfalls and get professional results.
Soil Prep Secret: In Step 1, don’t rush the 24-hour soil settling period after adding lime or sulfur. This isn’t just waiting—it’s letting amendments fully integrate. I’ve seen people skip this and end up with uneven pH levels that stunt growth. Use a soil probe to check moisture during this time; it should feel like a wrung-out sponge.
Leveling Like a Pro: For Step 2, rent a laser level if you’re working with large areas—it’s worth the investment for perfectly flat ground. The bowl-level rake works great for small spaces, but even a slight slope can cause water pooling. After leveling, walk across the area and feel for any bumps or dips with your feet; your lawn’s health depends on this step.
Watering Wisdom: Those first two weeks of twice-daily watering can be tricky. Set a timer for 10-15 minutes per session and use a rain gauge to measure output. You’re aiming for just enough moisture to penetrate the top ½ inch—any deeper and you risk washing seeds away. Morning watering prevents evening evaporation, while afternoon sessions keep roots cool.
Fertilizer Timing: The 4-6 week window for fertilizer in Step 4 is critical for root development before winter. I recommend testing soil again after application—sometimes fall rains wash away nutrients. If you see yellowing grass, it might need a light nitrogen boost, but don’t overdo it; too much fertilizer now can burn tender new roots.
Pro Tips for Planting A Lawn In The Fall
- Fall lawn planting is all about timing and preparation—here’s how to avoid common pitfalls and get professional results.
- Soil Prep Secret: In Step 1, don’t rush the 24-hour soil settling period after adding lime or sulfur. This isn’t just...
- Leveling Like a Pro: For Step 2, rent a laser level if you’re working with large areas—it’s worth the investment for ...
Frequently asked questions
Got questions about planting a lawn in the fall? You’re not alone—this seasonal task comes with its own set of curiosities! Here’s what you need to know to tackle it like a pro.
Why is fall the best time to plant a lawn?
Fall offers cooler temperatures, reduced weed competition, and ample time for roots to establish before winter. Grass seeds germinate best when soil temps are between 60–75°F (15–24°C), which is common in early fall. Plus, spring weeds are less aggressive this time of year!
How long does it take for new grass to grow after fall planting?
Expect to see sprouts in 7–21 days, depending on grass type and weather. Cool-season grasses (like fescue or ryegrass) grow faster in fall than warm-season varieties. Mow when blades reach 3–4 inches tall, but avoid heavy foot traffic until roots are well-established (about 4–6 weeks).
Can I plant a lawn in fall if my budget is tight?
Skip pricey sod and opt for seed mixes—they’re cost-effective and easier to customize. Use compost or free grass clippings for mulch instead of buying topsoil. Check local hardware stores or online for seasonal discounts on seed and fertilizer too!
What if the weather turns cold before my grass grows?
Don’t stress! Most cool-season grasses can handle light frosts once established. If temps drop below 32°F (0°C) before germination, cover seeds with a thin layer of straw or mulch for insulation. Avoid planting too close to winter’s first hard freeze—aim for 4–6 weeks before the first expected frost.
What’s the best alternative if my lawn fails to grow in fall?
If seeds don’t sprout or growth stalls, try spring planting (early spring is the second-best window). For immediate results, consider sod patches or overseeding with a fast-germinating blend like annual ryegrass. Test soil pH and fertility first—amending with compost or lime can make a huge difference!
Wrapping up and next steps
Planting a lawn in the fall is your golden ticket to a lush, resilient green space by spring! 🌱 With cooler temperatures, fewer weeds, and ideal growing conditions, autumn is the perfect time to establish a thick, healthy lawn.
Whether you’re a first-timer or a seasoned gardener, taking these steps now will save you time and effort—and give you bragging rights come spring.
Ready to roll up your sleeves? Start by gathering your supplies, mark your calendar for the best planting window, and dive in! Your future lawn (and your neighbors) will thank you.