
Lawn
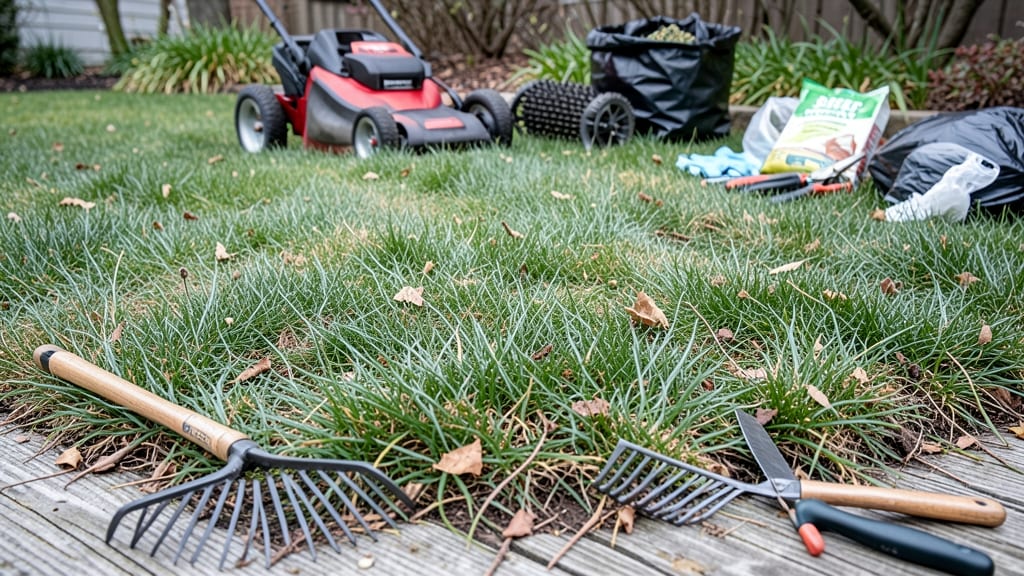
Spring lawn care clean-up transforms that tired winter brown into vibrant green—and it all starts with just five focused steps. 🌱 I’ve learned the hard way that skipping even one (especially aeration) means struggling with weeds and patchy growth all summer.
The secret isn’t working harder—it’s working smarter, with the right timing and tools.
You’ll need basic gear: a sharp mower, a rake for debris, a core aerator (or even a garden fork in a pinch), and a spreader for fertilizer.
Most people overlook the prep work—clearing leaves and thatch first—so I’ll show you how to do it in under 2 hours without breaking your back. This isn’t about perfection; it’s about setting your lawn up for the easiest, most resilient growth of the year.
By the time you’re done, you’ll have a lawn that recovers faster from foot traffic, resists weeds better, and stays lush through summer. The key is tackling tasks in the right order: start with debris, then aerate, fertilize, and finally mow at the right height.
I’ll walk you through each step so you avoid the mistakes that leave lawns struggling by June.
Works for any yard size—from small suburban plots to large properties—and adapts to different grass types. Let’s get that lawn back to its best in just a weekend.
📚 In This Guide
- What you need
- Instructions
- Tips and common mistakes
- Wrapping up and next steps
What you need
- ● Lawn mower (gas or electric, sharp blades for clean cuts)
- ● String trimmer/weed whacker (12”–20” cutting width for edges)
- ● Rake (leaf rake for debris + bow rake for grass clippings)
- ● Garden shears/pruners (bypass pruners for clean cuts on shrubs)
- ● Garden gloves (heavy-duty, water-resistant for protection)
- ● Wheelbarrow or tarp (for hauling debris—3’x5’ tarp works great!)
- ● Hose with adjustable nozzle (for rinsing tools and wetting soil)
- ● Compost or organic mulch (2–3 cubic yards for a 1,000 sq. ft. lawn)
- ● Fertilizer (slow-release, high-nitrogen for spring—look for 24-0-4 ratio)
- ● Soil amendment (compost or peat moss, 1–2 bags per 50 sq. ft.)
- ○ Pre-emergent herbicide (optional, for crabgrass prevention—apply after mowing)
- ● Edging tool (for crisp lawn borders, if needed)
- ○ Knee pads (optional but highly recommended for comfort!)
Step-by-step instructions for lawn care spring clean-up
Here's how I transform my lawn from winter dormancy to vibrant growth—no shortcuts, just proven spring prep.
🌱 Step 1: Clear Debris and Aerate Compacted Soil
Start by raking away dead grass, leaves, and thatch buildup—this prevents smothering and disease. I use a stiff-bristled rake and work in small sections, pulling debris toward the center to make cleanup easier. Look for a thatch layer thicker than ½ inch; if you find it, you'll need to dethatch next.
Next, rent a core aerator or use a manual spike aerator to create ¼-inch holes every 3-4 inches. You'll see soil plugs pop up—this relieves compaction so roots can breathe and water penetrates better. Aerate when the soil is slightly moist but not soggy; early spring or after light rain works best. Water the lawn the day before if needed.
☀️ Step 2: Test Soil and Apply Fertilizer
Grab a soil test kit from your local extension office or garden center—this tells you exactly what nutrients your lawn needs. Most spring lawns benefit from a high-nitrogen fertilizer (look for a 30-0-4 ratio) to promote green-up. Apply fertilizer when temperatures consistently stay above 50°F—usually mid-April in most climates.
Use a broadcast spreader for even coverage, following package rates. I like to split the application into two feedings: once in early spring and again in late spring. Water lightly after fertilizing to help granules settle into the soil. Avoid fertilizing if rain is forecast within 24 hours—it washes away before the grass can use it.
💧 Step 3: Overseed Bare Spots and Thin Grass
Walk your lawn and mark areas where grass is thin or bare—these are prime spots for overseeding. Spread high-quality cool-season grass seed (like Kentucky bluegrass or fescue) evenly over these spots using a hand spreader. Lightly rake the seed into the soil to ensure good contact with the earth.
For thick, lush lawns, overseed the entire area if more than 25% looks sparse. Water immediately after seeding to keep the soil surface moist. You'll need to water twice daily for 10-15 minutes until new grass reaches 2 inches tall. This keeps seeds from drying out but prevents them from rotting.
✂️ Step 4: Mow and Adjust for Seasonal Growth
Once new grass reaches 3-4 inches tall, mow it back to 3 inches—never remove more than ⅓ of the blade height at once. Sharpen your mower blade first; dull blades tear grass instead of cutting cleanly, inviting disease. Mow when the grass is dry to avoid clumping and uneven cuts.
Adjust your mowing height as the season progresses: keep it slightly taller (3.5 inches) during hot summer months to retain moisture. Save grass clippings for mulching—they return nutrients to the soil naturally. If your lawn has broadleaf weeds, this is the time to spot-treat with a pre-emergent herbicide before they take hold.
🪴 Step 5: Control Weeds and Plan for Summer Care
Apply a pre-emergent herbicide in early spring to prevent crabgrass and other annual weeds from sprouting. Follow label instructions carefully—most require ½ inch of water within 7 days to activate. I also pull any existing weeds by hand, especially dandelions, as they spread aggressively.
Finally, mark your calendar for summer maintenance: water deeply 1-2 times per week (early morning is best), and consider applying a slow-release fertilizer in late spring. A healthy spring clean-up means your lawn stays resilient through summer heat and fall color changes.
Tips & tricks for perfect lawn care spring clean-up
These game-changing tricks will help you avoid common pitfalls and get that showstopping lawn transformation every time.
Timing is Everything: The 24-hour window before fertilizing is critical—if rain is forecast, move your application to a dry day. I always check the weather app the night before and schedule fertilizing for early morning when dew has evaporated but temperatures are still cool. This prevents runoff and ensures nutrients soak into the soil properly.
Soil Prep Secret: Before aerating, walk your lawn to identify compacted areas—these often appear as dark, spongy spots where footprints linger. Focus your aeration efforts here first, as these zones need the most relief. I find a manual spike aerator works well for small patches, but for larger lawns, renting a core aerator makes all the difference.
Watering Wisdom: Those twice-daily 10-15 minute waterings for new seed are non-negotiable—set a timer to avoid overwatering. I like to water in the morning so the lawn has all day to dry, reducing disease risk. If you must water in the evening, finish at least 3 hours before sunset to prevent fungal growth.
Equipment Check: Always sharpen your mower blade before that first spring cut—dull blades tear grass instead of cutting cleanly, which stresses the plants and invites disease. I take mine to a local hardware store where they can sharpen it properly for about $10. A crisp, clean cut promotes healthier growth and a more professional-looking lawn.
Pro Tips for Lawn Care Spring Clean Up
- These game-changing tricks will help you avoid common pitfalls and get that showstopping lawn transformation every time.
- Timing is Everything: The 24-hour window before fertilizing is critical—if rain is forecast, move your application to...
- Soil Prep Secret: Before aerating, walk your lawn to identify compacted areas—these often appear as dark, spongy spot...
Frequently asked questions
Got questions about tackling your lawn care spring clean-up? You’re not alone! Here are answers to the most common concerns—so you can dive in with confidence and keep your yard thriving all season.
When is the best time to start my spring lawn clean-up?
The ideal window is late April to early May in most regions, once the soil is workable (no mud!) and before summer heat stresses new growth. Check your local frost dates—wait until 3-4 weeks after the last frost to avoid damaging tender grass. Pro tip: Mornings are best for tasks like mowing to reduce stress on your lawn.
Should I aerate or dethatch first?
Start with dethatching if your lawn has a thick layer of dead grass (over ½ inch). Use a rake or dethatching machine, then aerate 2-4 weeks later to let those holes settle. Aeration helps roots breathe and absorb nutrients—critical for recovery after dethatching. Skip aeration if your soil is already loose or sandy.
What do I do with all the debris after cleaning?
Don’t toss it! Compost leaves, small clippings, and thatch for nutrient-rich soil later. Bag large debris (like branches or diseased plant matter) for trash day. For a quick win, spread thin layers of leaves as natural mulch around garden beds or flower areas. Never leave thick piles—it smothers grass.
How often should I water my lawn after spring clean-up?
Water deeply 2-3 times per week (early morning is best) for the first 4-6 weeks post-clean-up. Aim for 1–1.5 inches per session to encourage deep root growth. Avoid light, frequent watering—it promotes shallow roots and weeds. Check soil moisture: If the top 2–3 inches are dry, it’s time to water.
My lawn looks patchy after clean-up—what went wrong?
Patchiness often stems from uneven mowing, over-dethatching, or skipping soil prep. Fix it by:
- Reseeding bare spots with matching grass seed.
- Applying a light layer of compost to improve soil.
- Adjusting your mower height to 3–4 inches for shade or new grass.
Wrapping up and next steps
A spring clean-up isn’t just about tidying up—it’s your lawn’s chance to thrive all year long! 🌱 By tackling debris, sharpening mowing habits, and nurturing soil health, you’ve set the stage for a lush, vibrant yard that’ll be the envy of the neighborhood.
Now that you’re armed with the right tools and tips, there’s no better time to roll up your sleeves and make it happen.
Ready to see real results? Start small—pick one task from this guide and dive in this weekend. Before you know it, your lawn will be the healthiest it’s ever been, and you’ll be the proud gardener who knows exactly how it got that way! 🌿