
Lawn
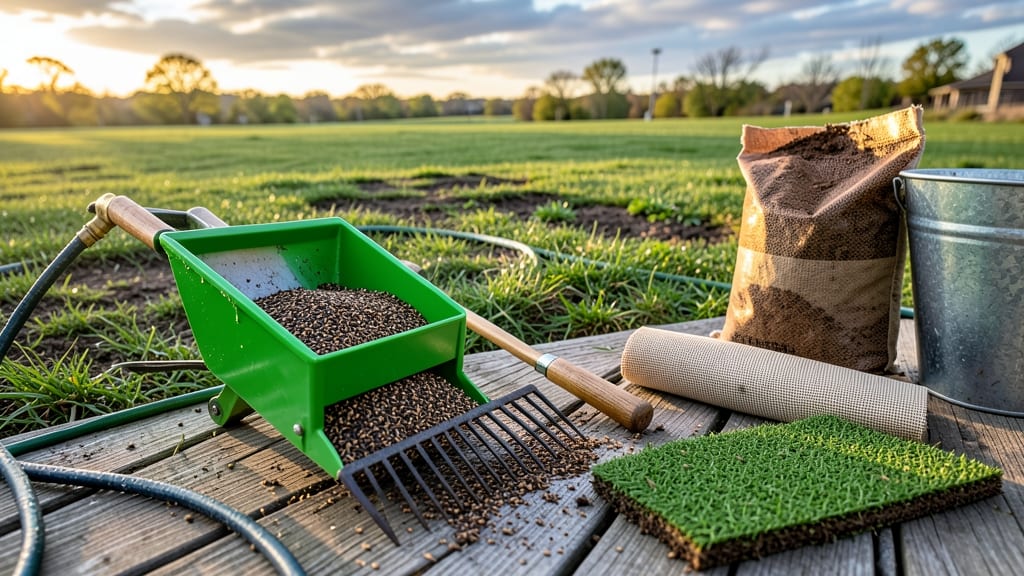
Your lawn can look lush and green again in just 48 hours after the lawn burn repair—even from chemical burns or drought stress. I’ve revived yards that looked like straw after herbicide mishaps or scorching summer heat, and the secret isn’t expensive treatments but the right timing and technique.
The key is acting fast before the roots give up completely.
First, identify the damage: chemical burns leave crispy yellow patches, while drought stress creates dull, foot-printing turf. Once you know the cause, you’ll need a high-nitrogen lawn fertilizer (organic or synthetic), a stiff-bristle lawn rake, and a hose with a gentle spray nozzle.
Skip the over-the-counter "quick fixes"—they often make things worse.
Within hours of treatment, you’ll see new growth pushing through the damaged areas, and by day three, the lawn will look noticeably thicker and greener.
The real magic happens when you combine proper watering (deep but infrequent) with a soil test to rule out deeper issues like compaction or nutrient deficiencies.
This method works for St. Augustine, Bermuda, and Kentucky bluegrass, but adjust watering based on your grass type. The fastest recovery comes from consistency—don’t skip the follow-up fertilizing in two weeks. Your lawn will bounce back, and you’ll never panic over a burn spot again.
📚 In This Guide
- What you need
- Instructions
- Tips and common mistakes
- Wrapping up and next steps
What you need
- ● Peat moss or coconut coir – 3-5 lbs (for soil amendment and moisture retention)
- ● Compost or well-aged manure – 2-3 gallons (to replenish nutrients)
- ● Lawn repair seed mix – 1-2 lbs (fast-growing, shade-tolerant blend for quick recovery)
- ● Starter fertilizer (high in phosphorus) – 1 lb (look for a 5-10-5 or 10-20-10 ratio)
- ● Watering can or hose with a gentle spray nozzle (for light, frequent hydration)
- ● Garden rake or hand fork (to loosen soil and mix amendments)
- ○ Lawn roller (optional but helpful) – For firming down seeds after planting
- ● Bio-stimulant or liquid seaweed fertilizer – Speeds up root growth and stress recovery
- ● Mulch or straw – 1-2 inches (to retain moisture and protect new seedlings)
- ● Soil test kit – To check pH and nutrient levels before repairing
- ● Knee pads or gloves – For comfort during hands-on work
Step-by-Step instructions for lawn burn repair
Here’s how to revive scorched grass and restore a lush, healthy lawn within two days.
Assess the Damage and Determine the Cause
First, identify what caused the burn—whether it’s from over-fertilizing, pet urine, chemical spills, or drought stress. Walk your lawn and note areas where grass has turned brown, crispy, or yellowed. For chemical burns, you’ll need to flush the soil immediately, while drought stress requires a different approach. I always check the soil moisture by pressing my finger 1 inch deep—if it’s dry, that’s your first clue.
Look for patterns: uniform browning suggests over-fertilization, while patchy damage often points to pet accidents. If the burn is from a chemical spill, wear gloves and avoid walking on the area until you’ve neutralized it. This step ensures you treat the root cause, not just the symptoms.
Flush the Soil and Remove Debris
Water the affected area deeply—about ½ inch of water—to flush out excess salts, chemicals, or urine. Use a garden hose with a gentle spray nozzle to avoid compacting the soil. If the burn is severe, repeat this process two to three times over 24 hours to fully leach contaminants. You’ll know it’s working when the water runs clear as it drains away.
After flushing, rake away any dead grass or debris with a stiff-bristled lawn rake. This opens up the soil surface, allowing air and water to penetrate where roots can regenerate. Avoid raking too aggressively—you’re not scalping the lawn, just clearing a path for recovery. Focus on the brown, crispy patches until they’re reduced to loose, dry clumps.
Apply a Light Layer of Topsoil or Compost
Spread a ¼-inch layer of high-quality topsoil or compost over the repaired areas. This adds organic matter to help the soil retain moisture and nutrients, which is critical for root regrowth. I like to use a broadcast spreader for even coverage, but a simple hand-held shovel works just as well for small patches. Gently work the new soil into the top ½ inch of the existing lawn with a rake.
This step is all about giving your grass a fighting chance. The topsoil introduces beneficial microbes and nutrients that stimulate root growth, while the compost improves soil structure. Avoid piling soil too thickly—it can smother new growth. Instead, think of it as a thin, nourishing blanket for the damaged spots.
Water and Monitor for Recovery
Water the repaired areas lightly but frequently for the next 48 hours, keeping the soil consistently moist but not soggy. Aim for ¼ inch of water every 12 hours to encourage root regeneration without overwhelming the grass. You’ll see the first signs of recovery in 24 to 48 hours—look for new green shoots emerging from the soil or along the edges of the brown patches.
After the initial two days, reduce watering to ½ inch per week, but keep an eye on the lawn. If the soil feels dry 1 inch below the surface, it’s time to water again. Avoid heavy foot traffic on the repaired areas for at least 5 to 7 days to prevent disturbing the new growth. Patience here is key—rushing can set you back.
Fertilize and Maintain for Long-Term Health
Once the lawn shows signs of recovery—typically 7 to 10 days after repair—apply a slow-release, balanced fertilizer (like a 10-10-10 or 16-4-8 formula) to support ongoing growth. Follow the package instructions for application rates, but generally, ½ pound per 1,000 square feet is a safe starting point. This gives your grass the nutrients it needs to fill in any remaining bare spots.
Continue regular lawn care, including mowing at the recommended height for your grass type and watering deeply 1 to 2 times per week. Over the next few weeks, the repaired areas should blend seamlessly with the rest of your lawn. If you notice any new brown patches, repeat the flushing and topsoil steps promptly—catching issues early makes all the difference.
Tips & tricks for fast-green lawn recovery
These targeted strategies will help you revive your lawn efficiently while avoiding common pitfalls that slow down the process.
Diagnosis is Everything: In Step 1, don't just look at the brown patches—dig your finger 1 inch deep to check soil moisture. Dry soil at this depth confirms drought stress, while dampness suggests chemical or fertilizer damage. This simple test saves time by eliminating guesswork about the root cause. The difference between treating a chemical burn and addressing drought is everything when it comes to recovery speed.
Watering Precision: When flushing soil in Step 2, use the ½ inch of water measurement as your guide, but time it properly. A gentle rain setting on your hose delivers about ¼ inch per 15 minutes—so two 15-minute sessions complete the ½ inch requirement. This prevents soil compaction from heavy water pressure while ensuring thorough leaching. For severe burns, I've found that splitting the two to three times over 24 hours into morning and evening sessions works better than one long session.
Topsoil Application Technique: The ¼-inch layer in Step 3 might seem thin, but consistency matters more than thickness. Use a straightedge or level to ensure even distribution—uneven layers can create high spots that dry out faster. I've seen people overdo it by piling soil too thickly, which actually suffocates new growth. Think of it as a delicate balance: enough to nourish roots without smothering them.
Recovery Monitoring: After the initial 48 hours of frequent watering, don't fall into the trap of overwatering. Check soil moisture 1 inch deep before adding more water—if it's damp, hold off. The goal is consistent moisture, not saturation. I've watched lawns recover in 24 to 48 hours when this balance is maintained, while overwatered areas develop fungal issues that set progress back weeks.
Pro Tips for Lawn Burn Repair
- These targeted strategies will help you revive your lawn efficiently while avoiding common pitfalls that slow down th...
- Diagnosis is Everything: In Step 1, don't just look at the brown patches—dig your finger 1 inch deep to check soil mo...
- Watering Precision: When flushing soil in Step 2, use the ½ inch of water measurement as your guide, but time it prop...
Frequently asked questions
about lawn burn repair—because even the greenest thumbs need a little help! Here’s what you’ve been wondering:How quickly can I see results after treating a burned lawn?
With the right approach (like our fast-green recovery method), you’ll notice new growth in 3–7 days, but full recovery typically takes 2–4 weeks. Overwatering or reseeding too soon can delay progress—patience is key!
Is it safe to walk on my lawn while it’s recovering?
Wait until the soil is firm and new grass blades are 1–2 inches tall (usually 7–10 days post-treatment). Walking on tender shoots can compact soil or uproot them. If you must, stick to paths or use a walking board to distribute weight.
Can I fix a burned lawn without buying special products?
Yes! Try these DIY fixes:
For severe burns, though, commercial lawn repair kits with humic acid or kelp extract speed up healing.
Why did my lawn turn brown in patches even after watering?
Patchy browning often signals underlying issues:
- Fungal infections (e.g., dollar spot)
- Grubs or pests eating roots
- Soil compaction (from foot traffic or heavy equipment)
Should I water my lawn more or less after a burn?
Start with light, frequent watering (10–15 mins/day) to rehydrate roots, then taper to 1 inch/week once new growth appears. Overwatering drowns roots, while underwatering stresses recovery. Use a rain gauge to track moisture—consistency is critical!
Can I use grass clippings from my healthy lawn to fix burned areas?
Spread clippings lightly (¼ inch thick) over bare spots—they add organic matter and nutrients. For best results, mix with a starter fertilizer (high in phosphorus) to encourage root growth. Just avoid thick layers, which can smother new shoots.
Wrapping up and next steps
Reviving your lawn after a burn doesn’t have to be a daunting task—with the right approach, you can restore that lush green in just 48 hours! Remember, quick action, proper hydration, and gentle care are your best allies.
Whether it’s a chemical burn or sun damage, patience and consistency will pay off with a vibrant, healthy lawn.
Ready to see the transformation? Grab your supplies and get started today—your lawn will thank you! 🌱 For long-term success, consider testing your soil or exploring seasonal lawn care tips next.