
Lawn
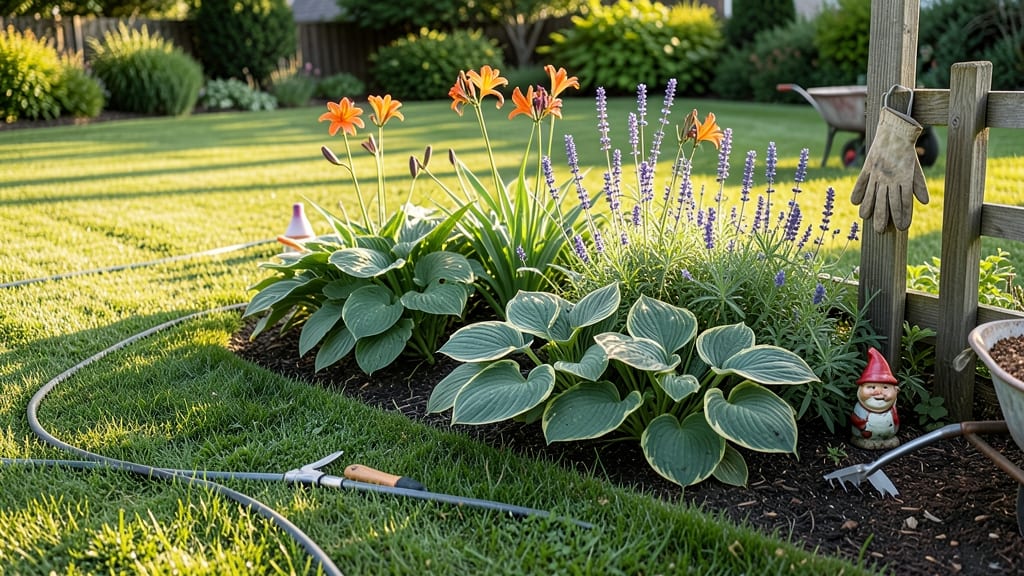
My green thumb lawn and garden isn't magic—it's a mix of smart planning and simple habits that keep everything looking vibrant year-round. 🌱 The secret? Trimming isn't just about cutting grass; it's about shaping growth, encouraging health, and creating a space that feels like a showpiece without the high-maintenance fuss.
Start with the right tools—a sharp mower, hedge shears, and a pair of pruners—and focus on timing. Mow when grass is dry but still tall enough to shade the soil, and trim shrubs just before new growth starts.
I've seen neighbors struggle with patchy lawns and leggy plants because they overdo it in spring or skip fall cleanups. Don't make that mistake: consistency is key.
What you'll end up with is a lawn that stays deep green through summer, shrubs that bloom like clockwork, and edges so crisp they make your neighbors take notice.
The best part? It doesn't take all day. A few hours a week keeps everything thriving, and you'll actually enjoy spending time outside instead of dreading yard work.
This approach works for any yard size—whether you've got a postage-stamp lawn or acres to manage. The principles stay the same: observe, adjust, and let the plants guide you.
Ready to make your outdoor space the envy of the block? Let's get started with the basics that make all the difference.
📚 In This Guide
- What you need
- Instructions
- Tips and common mistakes
- Wrapping up and next steps
What you need
- ● Lawnmower: Electric (for small yards) or gas-powered (for larger areas). Choose a self-propelled model for ease.
- ● Trimmers/Edgeers: 1 cordless string trimmer (20V+ battery)
- ● 1 edging tool (manual or electric)
- ● Pruners: 1 bypass pruner (for clean cuts)
- ● 1 hedge shears (for shaping shrubs)
- ● Gloves & Safety Gear: 1 pair heavy-duty gardening gloves
- ● 1 pair safety goggles
- ● 1 ear protection (if using gas tools)
- ● Soil & Fertilizer: 1 bag slow-release granular fertilizer (e.g., 20-5-10 NPK ratio)
- ● 1 bag topsoil or compost (for patchy areas, 5–10 sq ft coverage)
- ● Watering Supplies: 1 garden hose (50+ ft, ½” diameter)
- ● 1 adjustable nozzle (for precision watering)
- ● Lawn Aerator: Manual or mechanical (rent or buy for $50–$150). Pro tip: Aerate once a year for healthier grass roots! 💡
- ● Leaf Blower/Vacuum: For quick cleanup (cordless models save time).
- ● Mulch: Shredded bark or straw (2–3” layer for flower beds).
- ● Smart Tools: Soil pH tester (digital for accuracy)
- ● Moisture meter (to avoid over/under-watering)
- ● ✅ Weather Check: Plan trimming for early morning or late afternoon (avoid peak sun).
- ● ✅ Safety First: Clear the area of rocks, toys, or debris before mowing.
- ● ✅ Know Your Grass: Research your grass type (cool-season vs. warm-season) for tailored care.
Instructions for maintaining a year-round lush lawn and garden
Let's break down the simple, science-backed routine that keeps your outdoor space thriving through every season.
🌱 Step 1: Master Seasonal Soil Preparation
Start by testing your soil's pH and nutrient levels in early spring. Most lawns need a 6.0-7.0 pH for optimal growth, while gardens thrive at 6.0-7.5. I use a simple test kit and adjust with lime or sulfur as needed—this prevents nutrient deficiencies before they appear.
Work in 2-3 inches of compost for garden beds and a ½-inch layer of topsoil for lawns. This improves drainage and feeds roots over time. The key is to mix it into the top 6 inches of soil rather than just spreading it on top. You'll see healthier growth within weeks.
☀️ Step 2: Implement Strategic Mowing and Pruning
Never cut more than ⅓ of the grass blade height at once—this prevents shock and encourages deeper root growth. For most lawns, set your mower to 3-4 inches in summer and 2.5-3 inches in cooler months. Always mow when grass is dry to avoid clumping.
For garden plants, prune right after flowering to redirect energy to next year's blooms. I trim back perennials by ⅓ in early spring and deadhead annuals regularly. Watch for new growth within 2-3 weeks—that's your sign you're doing it right. Avoid cutting into old wood on shrubs unless absolutely necessary.
💧 Step 3: Develop a Seasonal Watering Schedule
Water lawns deeply 1-2 times per week (depending on rainfall) for 15-20 minutes per session to encourage deep root growth. Early morning is best—you'll see dew on grass blades, which tells you moisture is settling properly. For gardens, water at the base rather than overhead to reduce disease risk.
Adjust frequency based on soil moisture: stick your finger 1 inch deep—if it feels dry, water again. Mulch garden beds with 2-3 inches of organic mulch to retain moisture and suppress weeds. This simple step cuts water use by nearly half while keeping plants happier.
✂️ Step 4: Seasonal Maintenance Checkpoints
Spring is for cleaning up winter debris, dividing perennials, and applying pre-emergent herbicide if needed. I schedule this in March-April when soil is workable but not muddy. Summer focuses on monitoring for pests and diseases—act quickly at the first sign of trouble.
Fall is about fertilizing (use a slow-release formula), planting cool-season crops, and aerating lawns if compacted. Winter prep includes protecting tender plants and cleaning tools. The goal is to end each season with healthier soil and plants than you started with.
🪴 Step 5: Year-End Review and Adjustments
Before winter sets in, take inventory of what thrived and what struggled. Note which plants needed extra care and adjust next year's planting accordingly. I keep a simple journal with dates of planting, watering schedules, and any issues that arose—this becomes your roadmap for future seasons.
Clean and sharpen tools before storing them, and organize your garden space for easy access next spring. The few minutes you spend now will save hours of frustration when you're ready to start fresh. Your garden will thank you with vigorous new growth come springtime.
Tips & tricks for perfect year-round lawn care
Here's what nobody tells you about keeping your outdoor space vibrant through every season without the guesswork.
Soil Testing Shortcut: If you don't have a soil test kit, check your local extension office—they often provide free or low-cost testing services. I've found that most home kits give accurate enough results for basic adjustments, but professional testing catches subtle imbalances you might miss. The 6.0-7.0 pH range for lawns is non-negotiable for nutrient uptake, so don't skip this step even if your garden looks fine.
Mulch Magic: When applying that 2-3 inch layer of organic mulch in Step 3, pull it back slightly from plant stems to prevent rot. I like to use shredded hardwood mulch because it breaks down slowly while improving soil structure over time. For garden beds, refresh the mulch layer every 6-12 months—this simple maintenance keeps weeds at bay and moisture levels perfect.
Watering Wisdom: Those 15-20 minutes per session should be timed carefully—early morning (before 10 AM) is ideal because it gives grass time to dry before evening, reducing fungal risks. For gardens, water at the base using a soaker hose or drip irrigation to deliver moisture directly to roots where plants need it most. The 1 inch deep soil check is your best friend for adjusting frequency.
Tool Maintenance: Your pruners, shears, and mower blades need regular sharpening to do their jobs efficiently. I clean and oil my tools after each use and sharpen them every 2-3 weeks during growing season. Dull tools tear plant tissue instead of making clean cuts, which stresses plants and makes them more susceptible to disease. A 5-minute sharpening session now saves hours of frustration (and plant damage) later.
Pro Tips for Green Thumb Lawn And Garden
- Here's what nobody tells you about keeping your outdoor space vibrant through every season without the guesswork.
- Soil Testing Shortcut: If you don't have a soil test kit, check your local extension office—they often provide free o...
- Mulch Magic: When applying that 2-3 inch layer of organic mulch in Step 3, pull it back slightly from plant stems to ...
Frequently asked questions
Got questions about keeping your lawn and garden thriving all year? You’re not alone! Here are some of the most common queries—plus straightforward answers to help you grow with confidence.
What’s the best time of year to trim my lawn for year-round lushness?
For most grass types, late spring or early summer (when grass is actively growing) is ideal. However, cool-season grasses (like fescue or ryegrass) benefit from a final trim in early fall to encourage deep root growth before winter. Always avoid cutting when grass is dormant or under stress—like during droughts or extreme heat.
How short should I cut my grass? Does it really matter?
Yes, it matters! Follow the 1/3 rule: Never remove more than one-third of the grass blade in a single mowing. For most lawns, 2.5–3.5 inches is perfect—taller grass shades soil, retains moisture, and crowds out weeds. Never scalp (cutting too short), as it stresses grass and invites pests.
My lawn looks patchy after trimming. What’s going wrong?
Patchiness often stems from uneven mowing, disease, or poor soil health. Start by checking your mower blades (dull blades tear grass). If patches persist, test your soil for pH or nutrient deficiencies and consider overseeding bare spots. Fungal issues? Improve airflow by trimming less aggressively and watering early in the day.
Can I use the same trimmer for both lawn and garden beds?
Not ideal! Lawn trimmers are designed for grass, while garden beds often have delicate perennials, edging plants, or mulch. For precision, use hand shears or a string trimmer with a weed-eating head near borders. Pro tip: Never use a lawnmower on flower beds—it can damage roots and spread soil-borne diseases.
How often should I sharpen my trimmer blades for best results?
Sharpen blades every 20–30 hours of use (or when grass starts looking frayed instead of cleanly cut). Dull blades tear grass, making it more susceptible to disease. For electric trimmers, use a file or blade sharpener; for gas-powered, consider professional sharpening. Safety first! Always disconnect the spark plug before working on blades.
What’s the deal with “mulching” when trimming? Is it worth it?
Mulching (leaving grass clippings on the lawn) is a game-changer. Clippings decompose quickly, returning nitrogen to the soil and reducing waste. Just ensure your mower has a mulching setting and avoid overdoing it—never mulch if clippings are too long (they’ll mat and smother grass). Works best on healthy, well-watered lawns.
Wrapping up and next steps
Cultivating a year-round lush lawn and garden is all about balance—smart trimming, seasonal care, and a little patience. Whether you’re mastering the art of sharp mowing, tackling weeds with precision, or nurturing perennials through winter, every small step adds up to big results. 🌱
You’ve got this! Start small—pick one technique from this guide and try it this weekend. Before you know it, your green thumb will be in full bloom, and your outdoor space will be the envy of the neighborhood. Happy trimming! 🌿